Instructions
Cast on 72 (108, 144) sts
Row 1 Knit, slip last stitch without knitting
Row 2 Purl, slip last stitch without knitting
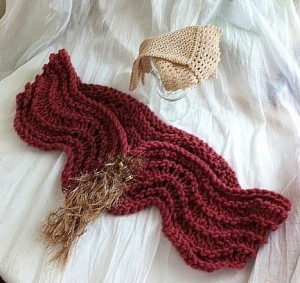
Row 3 K2 tog 3 times, *YO K1 6 times, K2 tog 6 times, repeat from * 3 (5, 7) times, YO K1 6 times, K2 tog 3 times
Row 4 Purl, slip last stitch without knitting
Repeat Row 1-4, 4 times (total 16 rows from start)
Row 17 Knit, slip last stitch without knitting
Row 18 Purl, slip last stitch without knitting
Cast off
Notes/Terms:
K2 Tog – Insert needle into next 2 stitches (instead of 1), draw yarn through both and slip off needle – you now have one stitch and have decreased
YO – Before knitting the next stitch, wind the yarn around the right-hand needle once, from back to front counter-clockwise. When you finish the row and turn to go back over the row with the YO, the wound yarn is knitted into and becomes a “proper” stitch (and we all want to be “proper”) – YO increases your stitches
Why slip the last stitch of every plain row? From experience, this gives a nice “tight” finished edge to your piece. This is a great tip for if you’re just knitting a simple scarf – the edges will be nice and even.
Finishing
With the tapestry needle, sew in loose ends
Fringes
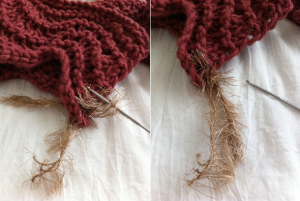
HINT – We usually wrap our strands around a book, then just cut quickly along one side – your strands will be more or less the same length – see photo
Use 3 strands to make one tassel of the fringe, and there are 5 tassels on each side of the shawl ends – space them evenly
Fold the strands in half and with the crochet hook, draw the middle of the strands through the end of the shawl
Next, draw the strand ends through the loop you just made, and pull tight to secure the tassel – repeat 9 more times for 5 tassels on each side (see below)
Give your tassels a “tszuj”, arrange them as you like (we liked them all hanging straight down)
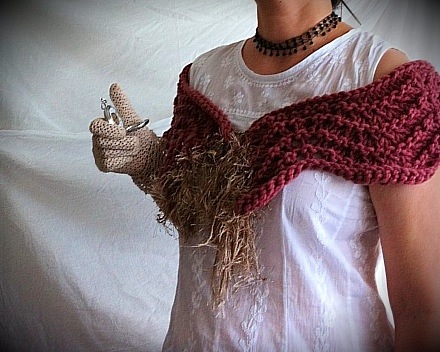
At the top of your Ravisher where the two ends meet, attach your brooch or ornament
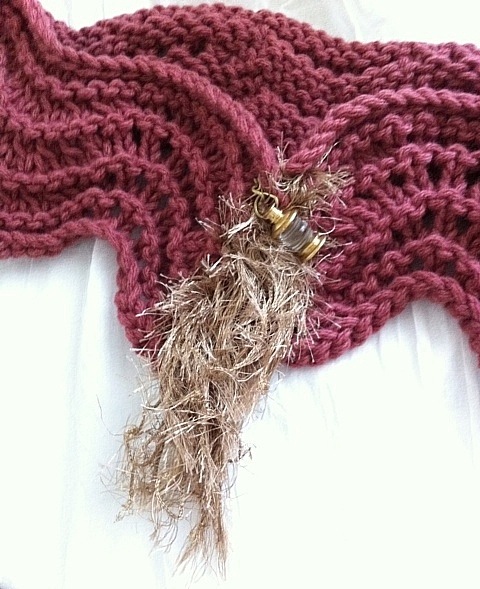 We attached a sweet little brass coach light
If you prefer, attach a button or two so you can button the Ravisher across the front, for a more secure fit
All done – you are ready to call up the steam-powered barouche for a night in the bright lights!
